Showing posts with label side dish. Show all posts

Sunday, September 2, 2012

Homemade Hash Browns

I haven't done a side dish post in quite some time. This recipe is pretty basic and serves about four people. The Hash Browny result can be served either as a breakfast item or as a dinner side. I love them either way, but most recently I served them up alongside my Chicken Berlin. Nom.

What You'll Need
Supplies
Cutting board                                                             Large pan
Knife for dicing                                                         Spatula
Ingredients
2 large baking potatoes                                              Salt
2 tbsp butter                                                               Pepper

    Now Let's Make Homemade Hash Browns
Start by thoroughly scrubbing the outside of your potatoes.  You want to get as much dirt and yuck off as possible. I leave my peels on for the recipe, but if it really bugs you feel free to peel your potatoes. However, for Hash Brown purposes, peeling is mostly a waste of time.

Take one of your potatoes, and slice in half lengthways. Then slice that in half across the width.  Slice your potato along the length with about 1/2 inch between your cuts. Keep your slices together. Then turn the potato and cut across the width. Break those pieces up and cut them until you have a medium dice. Repeat until all your potatoes are diced.


Heat the large pan over medium heat. When the pan reaches temperature, add 2 Tbsp butter and allow it to melt. Twist and tip your pan to allow the butter to thoroughly coat the bottom.


Now, add your potatoes. You want to add salt and pepper to taste. I don't typically add more than 3/4 to 1 tsp of salt. I'm very liberal with the pepper, though.  Saute the potatoes, moving them around regularly with the spatula to ensure even cooking.


Keep cooking the potatoes until they are brown, tender and slightly translucent looking.  Test a few larger pieces to ensure that none of the potatoes are still crunchy. Plate and serve! You now have a tasty, easy side dish to accompany your meal.


Sunday, May 6, 2012

Super-easy Sunday: Salsa!

In honor of the most recent Cinco de Mayo and thanks to the fact that I'm feeling decidedly lazy today, I give you my super-easy recipe for salsa.  This recipe tastes just as delicious as homemade fresh salsa, but doesn't take nearly as much effort.  To top it off, it's so tasty no one will ever guess how easy it is.

What You'll Need
Supplies
1 large bowl                                                                   Knife for chopping
Can opener                                                                     Measuring spoons
Cutting board                                                                 Mixing spoon
Ingredients
1 24 oz jar of salsa                                                        Cilantro
1 14.5 oz can of diced tomatoes                                    1 tsp minced garlic
1 10 oz can Rotel                                                           Tortilla chips

Now Let's Make Salsa!
Careful, it splatters.
Open your jar of salsa and pour it into the large bowl.  Use your spoon to scrape the sides of the jar, making sure to get all that tomatoey goodness.  I usually use mild Pace salsa (because I'm a total baby when it comes to spiciness), but any salsa should do. So, use your favorite!

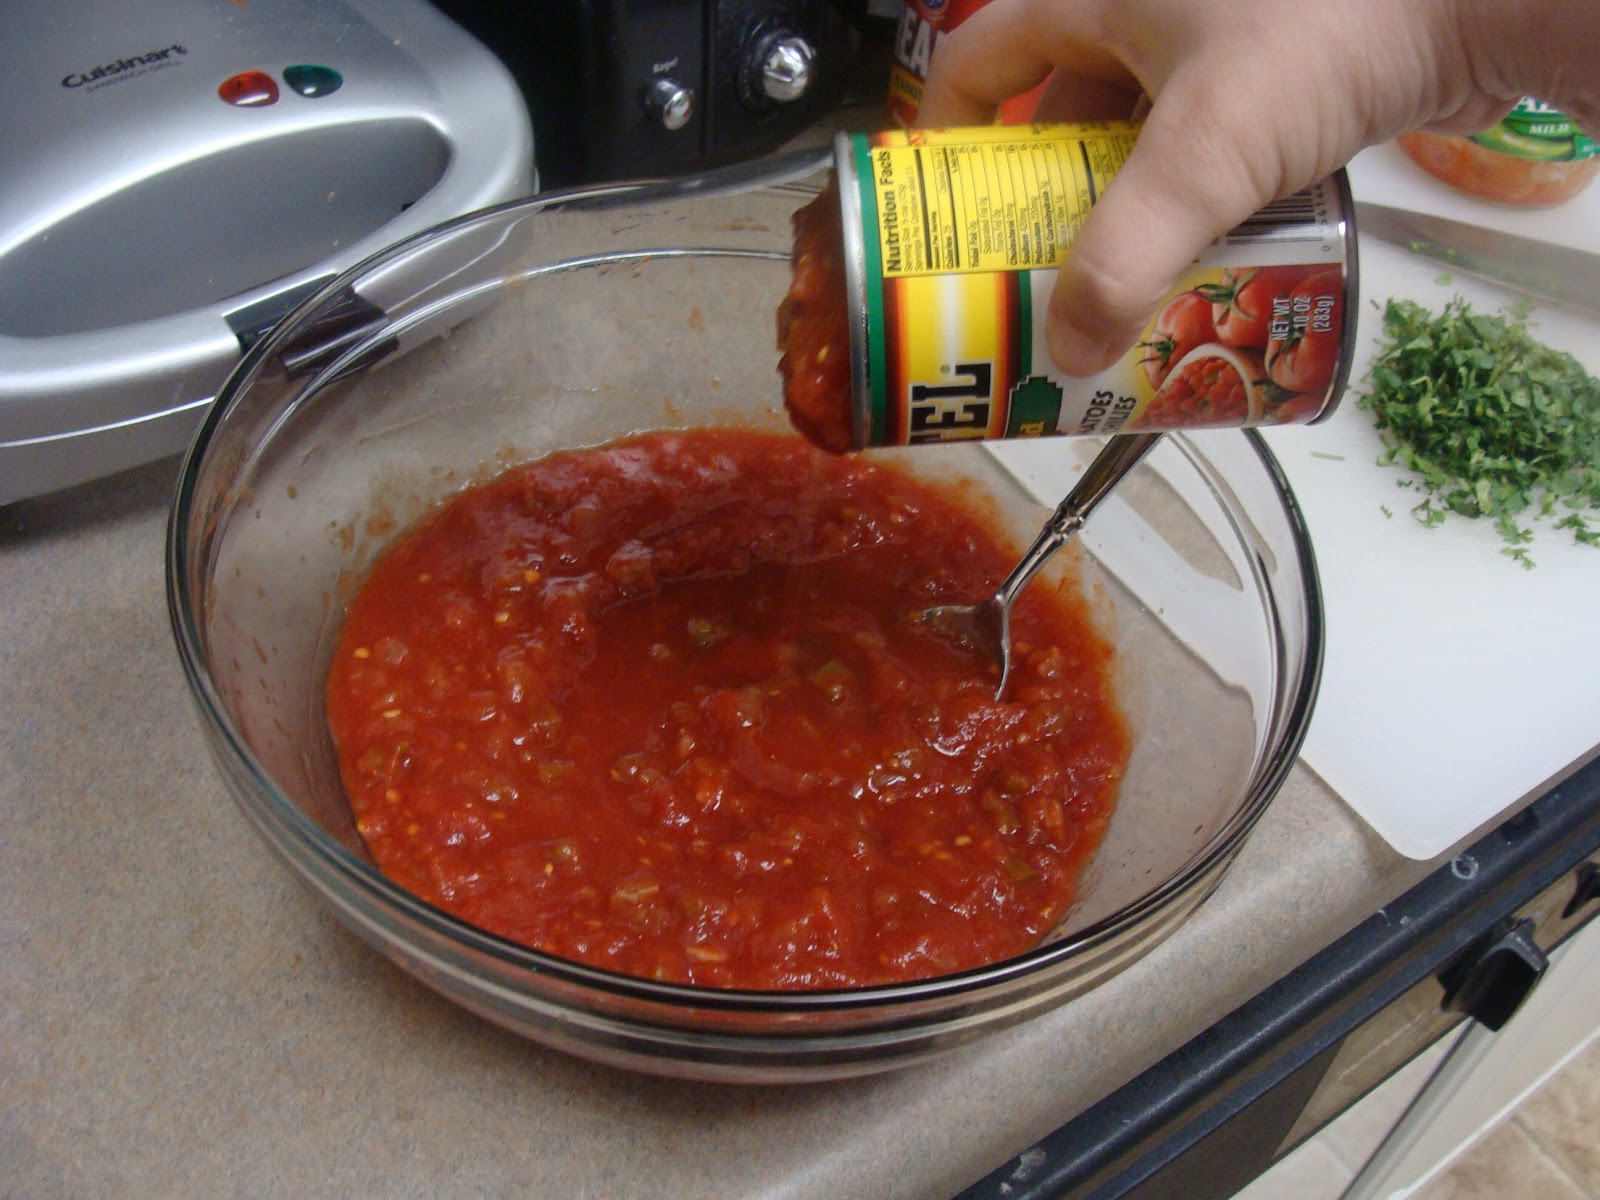
Open the can of diced tomatoes and the can of Rotel.  Do NOT drain the liquid from either. Add both cans, liquid and all, to the bowl of salsa.  Again, I like to use mild Rotel, and an off-brand could work just as well.  Stir everything together until you've got a fairly even blend.


Take your cutting board and knife, begin chopping your fresh cilantro. You don't want to do too much, as it can overpower the rest of the flavors in the salsa. I usually chop until I've got a handful.  To chop the cilantro, gather the leaves in as tight a bunch as you can. Hold the leaves together with one hand and, starting at the leafy end, chop the cilantro until you've gotten enough. I usually cut cilantro fresh from my herb garden, but if you're using store bought, make sure to wash it thoroughly first as it tends to be gritty. Add the chopped cilantro to the salsa bowl.  Measure 1 tsp of minced garlic and add it to the salsa. Mix thoroughly until you've achieved an even blend.


Chill in the refrigerator until cold enough to serve. I like my salsa cold, but you might not so follow your preferences.  Serve with tortilla chips and impress your friends!

Yeah, that's right. Nom!


Sunday, January 15, 2012

Sweet Sweet Potatoes

There just aren't any good cheesy titles for this. Time for another easy side dish (yes, I'm still riding on the coattails of the holiday dinner; last time, swear!).  This one happens to be my favorite, and being the wierdo that I am, I mix it with practically everything at the holiday meal.  You guessed it: Sweet Potato Casserole! (What's that? You didn't guess?) This recipe takes a sweet potato and turns it into a delicious (read, unhealthy) bit of decadence.  But seriously, despite all that butter and sugar, a serving of this goes a long way; once that casserole is divided 20 ways the impact is slight. As for the origins of this recipe, it's all mine; I made it up by experimenting and adding the basics until I was pleased with the results (the most fun kind of cooking).

What You'll Need
Supplies
Dining plate                                                                Mixing spoon
Dining fork                                                                  Measuring cups
Knife for chopping                                                       Measuring spoons
Cutting board                                                              13 x 9" casserole dish
Large mixing bowl
Ingredients
7 sweet potatoes                                                          2 tsp vanilla
1 3/4 cup brown sugar                                               1 cup pecans
1 cup nonfat milk                                                         Mini-marshmallows
1 cup butter 

Now Let's Make Sweet Potato Casserole!
As usual, begin with your prep work.  Preheat the oven to 350F. Using your knife and cutting board, chop up enough pecans to measure out about 1 cup. Since this is for the topping, and it's a relatively rustic dish, there's no need to be super precise here; if you're over or under it won't matter. 

This recipe calls for violence
On to the sweet potatoes!  I try to pick potatoes that are medium-largish.  You don't want really small ones as there won't be enough potato, but you don't want huge ones that take forever to cook, either. Begin by giving the potatoes a decent rinse. We won't be using the skins, so they don't have to sparkle, but excess dirt can transfer from your hands to the inside as you handle the potato (Blegh!). Use your fork to stab each side of the potato to help release air (Apparently, potatoes can explode if you skip this step, but I've never tested that. Really). Try not to look too demented as your stabbing the potatoes.  Place 2-3 potatoes on your dinner plate and microwave for 8 minutes. Poke with the fork to see if they're done; there should be no hard places.  Repeat until all the potatoes are cooked (I do this as I do the skinning step below).

Peeling (probably cursing)
As your other potatoes cook, begin skinning the potatoes that just finished.  Slice the potatoes in half and let them sit for a couple minutes to cool a bit (Not waiting = curses and burnt fingers).  When ready, begin removing the outer skin from the potatoes.  You can do this any way that works for you.  I tend to squeeze the potato a bit and the peel with my fingers and occasionally a knife for stubborn pieces. Place the sweet potatoes in your large mixing bowl as you go and set the skins aside for composting (or weird dogs that like potato skins, as mine do). Repeat for all the potatoes.

When all of your potatoes are in your mixing bowl, take the fork and mash them up really good.  Make sure not to leave behind any large lumps as this will affect the texture of your casserole. Once mashed, we can begin adding the other ingredients. Measure out 1 3/4 cup of brown sugar, packing it into the measuring cup as you do so; dump this into the mixing bowl. Then measure 1 cup nonfat milk and pour it into the mixing bowl. Microwave the 1 cup (2 sticks) of butter until it has begun to melt and pour this into the mixing bowl.  Measure out 2 tsp of vanilla extract and add to the sweet potato concoction (thought I was going to say mixing bowl, didn't you?).  Using your mixing spoon, blend all the ingredients together until everything is well mixed.  You shouldn't be able to distinguish any one ingredient except for the sweet potatoes by the time you're done.


Spoon the sweet potato mixture into the 13 x 9 inch casserole dish, spreading it out evenly.  Sprinkle your chopped pecans over the top of the casserole until you have an even layer. Do the same with the mini-marshmallows.  I typically use about 4 handfuls of marshmallows, but you're welcome to add as many or as few as you'd like. 

The finished product. Note the marshmallow's color.
Bake the casserole at 350F for about 30-45 minutes.  Cooking time varies drastically depending on the oven and the position of the casserole inside the oven. Just watch the casserole as you cook and remove it when the marshmallows have browned. Do NOT overcook; marshmallows are flammable (thankfully not something I learned from experience)! Serve casserole as a side dish to accompany you're favorite meal.  I find that it goes well with both pork and poultry. 


Sunday, January 8, 2012

Corny and Delicious

Prepare yourself for what is quite possibly one of my most addictive recipes.  When I threatened to exclude it from the holiday menu this year, I was met with quivering lips and watery eyes all around.  Corn Pudding is almost a cross between cornbread and spoon bread (in fact, my recipe is close to my Grandma Kay's spoon bread recipe). This dish is a pudding in the more traditional British sense of the word which comprehends savory flavors (sorry, I've been reading Austen) as well as Jello-like sweetness. And to top it off, it's ridiculously easy for something that tastes so yummy.

What You'll Need
Supplies
Large mixing bowl                                                       13 x 9" casserole dish
Stand mixer
Ingredients
1 stick butter                                                                1 can creamed corn (15 oz)
2 large eggs                                                                  8 oz sour cream
1 can whole kernel corn (15 oz)                                  1 box corn muffin mix (7.5 oz)

Now Let's Make Corn Pudding!
Mmmm. Butter.
Begin by preheating your oven to 350F.  Then, melt your stick of butter in your large bowl.  It doesn't need to be entirely melted, but it won't matter if it is.  Just don't overcook it so much that some of the butter evaporates. 30-40 seconds should do it.

Once you've mostly melted the butter, add two large eggs.  Also add both cans of corn, without draining off any liquid.  (seriously, don't drain; it's really hard to adjust with the right amount of water if you mess this up).

Mix, mix.
Now add 8 oz of sour cream to the bowl. I typically prefer to use Daisy Light sour cream as it cuts the calories of the recipe without sacrificing flavor. (You can also leave off the butter if you really want to, but it affects flavor and fluffiness. Still tasty, but not the same. I discovered this accidentally. Heh heh). Lastly, pour in your box of corn muffin mix.  I typically use Jiffy, but I'm sure it'd work with another brand just fine.

Yay, pudding!
Turn your mixer on to a medium low speed, and mix the ingredients until they are thoroughly blended. It is especially important that the eggs and sour cream get fully mixed in, as they tend to be stubborn.  If you need to break things down further with a whisk, don't be afraid to. (Not mixing properly results in a lumpy pudding, and that's just wrong).

Pour the pudding batter into the 13 x 9 inch casserole dish.  Shake the dish slightly from side to side to get the batter to settle evenly into the dish. 

Bake at 350F for about 40-45 minutes, until the top of the pudding is a golden brown and lightly crusty.

This recipe doubles easily, which is what I typically do for holidays since the dish is so popular.  If you choose to double the recipe, use a 15 x 10" dish and cook for 1 hour to account for the extra volume.  This dish goes with pretty much anything, but pairs especially well with ham or a hearty meat chili.


Sunday, November 27, 2011

Turkey Day Gorging Part I

As you might have guessed, I cook Thanksgiving dinner in my family.  I love making huge feasts, setting the table with nice stuff and generally enjoying a big family meal.  Oh and the holiday magazines!  I love trying out recipes from magazines (and, you know, using my family as guinea pigs).  Today's featured recipe came out of said holiday magazine (okay, so technically it was on their website!): Grandma Erma's Spirited Cranberry Sauce, submitted by Leslie Sutherland of Fort Worth Texas to Southern Living.  I have long hated cranberry sauce (glaring at the previously canned blob from across the table each Thanksgiving) and been puzzled as to why it was a Thanksgiving staple.  Last year, I wanted to make some from scratch but was talked out of it after being told what a pain in the patootie it was.  This year I stuck to my guns, did my research and found Grandma Erma's delicious cranberry sauce, which is exceedingly nom-worthy.

What You'll Need
Supplies
3 quart saucepan                                                        Blender or Food Processor
Stirring spoon                                                             Air tight storage container
Measuring cups
Ingredients
4 cups fresh cranberries                                             1/2 cup port
2 cups sugar                                                                1/4 cup orange liqueur
3/4 cup water

Now Let's Make Grandma Erma's Spirited Cranberry Sauce!
Please visit the site for the original recipe, linked above; below is my own rendition with details (as usual) based on the cooking experience. 

Begin by measuring out 4 cups of cranberries.  This is about 1 2/3 bags of Oceanspray cranberries; I have a 4 cup Pyrex measuring cup, that I filled up to the brim, which is slightly more than 4 cups. (greedy, greedy) Set the cranberries aside.

Cranberries!
In your 3-qt saucepan, combine 2 cups sugar, 1/2 cup port, and 3/4 cup water, stir until well mixed and sugar has begun to dissolve.  Don't worry too much about the quality of the port, either (unless you want to/can afford to); I used a cheap port picked up in my local grocery store (granted, it was the only one they had...).  Add your cranberries and stir the mixture around a bit.

Heat the mixture over medium high heat. To begin with you will have many more cranberries than liquid, so don't worry. The cranberries will cook down a bit.  Bring the mixture to a boil, stirring frequently.  Cook until the cranberries begin to crack.  The original recipe says to cook for about 8-10 minutes; I found that mine took about 10.  Don't pull it off the heat at the first sign of cracking, let the majority of the cranberries split open first. Once this has happened, remove it from the heat and let it cool at least 15 minutes.


Now pulse!
Once the cranberries have cooled, pour the mixture into your blender or food processor (hold the lid down tightly if you use a blender; ask me how I know). Blend the mixture on a low setting until the cranberries have reached your desired consistency.  This can be pureed, as the original recipe recommends, or you can leave some the cranberries still partially in tact (as I prefer).

Pour this into the storage container, and stir in 1/4 cup of orange liqueur.  Southern Living tested with Grand Marnier, but I used Gran Gala, so I doubt brand matters too much. Seal the container and chill for at least 8 hours before serving.  I made mine two days before the big day. Serve with your favorite feast (or feast leftovers, as the case may be); I know I'll be whipping it up again for Christmas.  This recipe took me for a 180; I now eye cranberry sauce with longing rather than loathing. And, it was super easy, too.

Om nom nom