Showing posts with label party. Show all posts

Sunday, September 16, 2012

Super Easy Sunday: An Appealing Appetizer

Yeah, so I said I'd be doing a slow cooker recipe; about that.... it usually helps if you remember to throw it together in time before you leave for work. Oops.  Next Sunday? That gives me a whole week to get used to the slow cooker concept.

Anywho, our pinch hitter for the night is the Ranch Cheese Ball.  I've been saving this one especially for football season, and what better way to celebrate Alabama's latest win, yes? (Or Auburn's, you know, if you swing that way; no sides here). This is a great recipe for hosting those football gatherings: easy to whip up and hard to knock over as you scream and wildly gesticulate at the television (you know who you are...).

What You'll Need
Supplies
Large mixing bowl                                                    Wooden mixing spoon
Cutting board                                                             Measuring cups
Knife for dicing
Ingredients
8 oz cream cheese                                                      1 small packet ranch mix
1/3 cup red bell pepper                                              8 oz shredded cheddar
1/2 cup onion                                                            Flour
1/2 cup pecans + some for rolling

Now Let's Make a Ranch Cheese Ball
Unwrap and place 8 oz of cream cheese in the large mixing bowl.  Reduced fat cream cheese works as well as regular, but I'd steer clear of fat free. Soften your cream cheese, if it isn't already. I usually leave mine out to let it soften, but a short stay in the microwave will do the trick.

Oh, cheese blob, just look at you, so blobby
Dice enough red bell pepper to make 1/3 cup. Add to bowl.  Next, dice enough onion to fill a 1/2 cup, and add it to the bowl.  Then measure out 1/2 cup of pecan chips and add them to the bowl. If you chop your own pecans, just make sure to get them very fine.  Lastly, add the small packet of dry ranch mix. Use your wooden spoon to whip the ingredients together. Make sure to mix them thoroughly as you don't want any large areas of a single ingredients. Scrape the sides of the bowl occasionally to prevent the ranch mix from escaping the mixing process. (Watch it, it's sneaky).

Note the red spoon, which swiftly transforms to wood
in the next photo. Magic!
Once you're all mixed, add 8 oz of shredded cheddar cheese.  I use pre-shredded for this instead of my usual hand shredded; it's easier and doesn't seem to have any effect. Use your favorite cheese or cheese blend, but note that sharper is better. Blend the cheese into the cream cheese mixture. Once mixed, microwave the cheese for about 20-30 seconds to melt the shredded cheese into the rest a bit and mix again.

Mmmm.... cheese
Form the cheese into a rough ball in the bottom of the bowl, using your spoon to shape it. Wipe down your cutting board and spread out some more pecan chips. I used about another 1/2 cup.  Spoon the cheese out of the bowl and onto the pecan chips, keeping in ball form as much as you can. Lightly flour your hands and shape to cheese into a more distinct ball shape, rolling it in the pecans to completely coat the outside of the ball.

Yes, I got pecans EVERYWHERE.

Place on serving plate and refrigerate until ready to serve. Serve with your choice of crackers. Enjoy!


Sunday, May 6, 2012

Super-easy Sunday: Salsa!

In honor of the most recent Cinco de Mayo and thanks to the fact that I'm feeling decidedly lazy today, I give you my super-easy recipe for salsa.  This recipe tastes just as delicious as homemade fresh salsa, but doesn't take nearly as much effort.  To top it off, it's so tasty no one will ever guess how easy it is.

What You'll Need
Supplies
1 large bowl                                                                   Knife for chopping
Can opener                                                                     Measuring spoons
Cutting board                                                                 Mixing spoon
Ingredients
1 24 oz jar of salsa                                                        Cilantro
1 14.5 oz can of diced tomatoes                                    1 tsp minced garlic
1 10 oz can Rotel                                                           Tortilla chips

Now Let's Make Salsa!
Careful, it splatters.
Open your jar of salsa and pour it into the large bowl.  Use your spoon to scrape the sides of the jar, making sure to get all that tomatoey goodness.  I usually use mild Pace salsa (because I'm a total baby when it comes to spiciness), but any salsa should do. So, use your favorite!

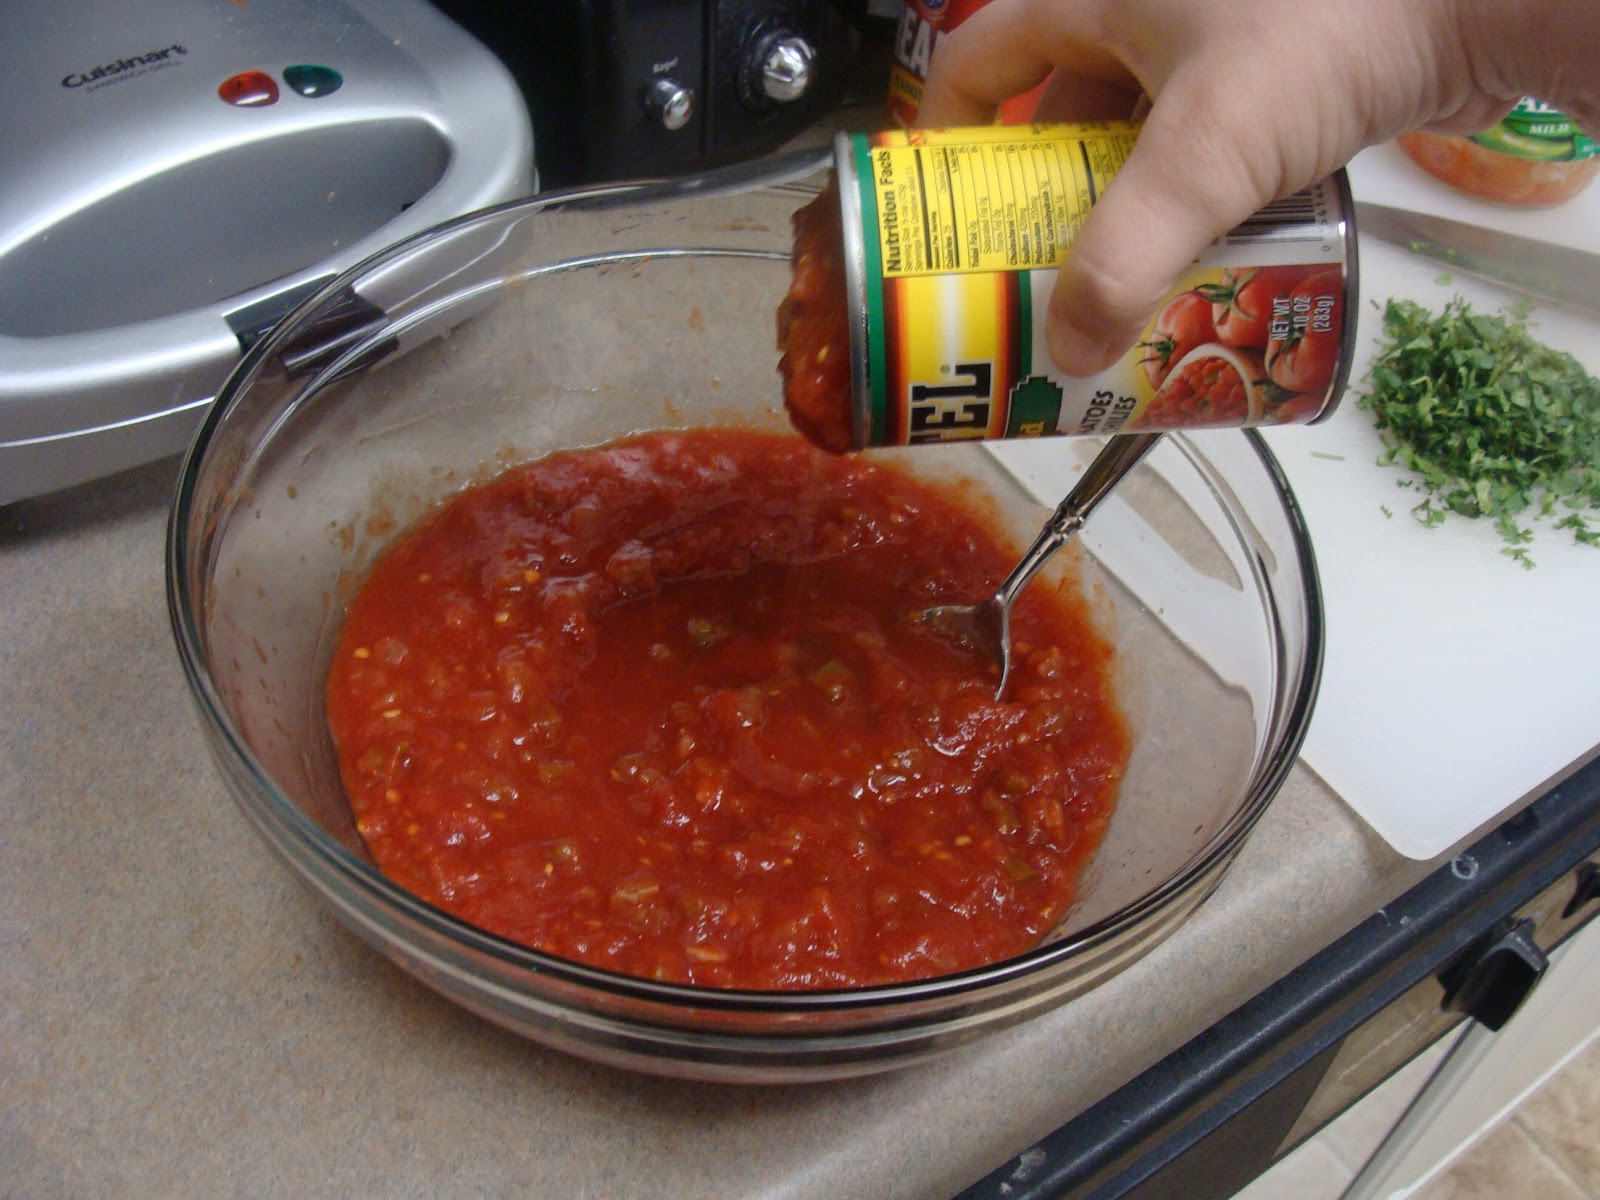
Open the can of diced tomatoes and the can of Rotel.  Do NOT drain the liquid from either. Add both cans, liquid and all, to the bowl of salsa.  Again, I like to use mild Rotel, and an off-brand could work just as well.  Stir everything together until you've got a fairly even blend.


Take your cutting board and knife, begin chopping your fresh cilantro. You don't want to do too much, as it can overpower the rest of the flavors in the salsa. I usually chop until I've got a handful.  To chop the cilantro, gather the leaves in as tight a bunch as you can. Hold the leaves together with one hand and, starting at the leafy end, chop the cilantro until you've gotten enough. I usually cut cilantro fresh from my herb garden, but if you're using store bought, make sure to wash it thoroughly first as it tends to be gritty. Add the chopped cilantro to the salsa bowl.  Measure 1 tsp of minced garlic and add it to the salsa. Mix thoroughly until you've achieved an even blend.


Chill in the refrigerator until cold enough to serve. I like my salsa cold, but you might not so follow your preferences.  Serve with tortilla chips and impress your friends!

Yeah, that's right. Nom!


Sunday, March 25, 2012

They're Devilish!

Naturally I'm talking about Deviled Eggs, a staple hors d'oeuvres at Southern parties (and who knows, maybe elsewhere, too). The great thing about Deviled Eggs is that you can make them in advance and have them ready to pop onto a table, no heating required. Oh, and they're delicious and look pretty, too.  I'd been planning to make these to serve at my birthday for a while, and while out one day with Lovely Assistant Jen, I promised her mom that I'd get the recipe up on my blog. So here it is!

What You'll Need
Supplies
Large pot                                                                    Cutting board
Slotted spoon                                                              Fork or whisk
Large bowl                                                                 Egg plates (enough to hold 36 halves)
Knife                                                                           Decorator's bag *
Ingredients
18 large eggs                                                              1/2 tsp hot sauce
White vinegar                                                             Worcestershire sauce
4 tsp spicy brown mustard                                         Salt
2/3 cup mayonnaise                                                   Pepper 
1 Tbsp onion powder                                                  Paprika

Now Let's Make Deviled Eggs!
Start by placing your eggs gently in your large pot. Fill the pot with enough water to cover the eggs and then some. I usually put enough water to be an inch over the eggs.  Place the pot on the stove and turn the heat on high. Add a generous dollop of white vinegar to the water; this will help prevent the whites from seeping should the eggs crack while cooking.  Bring the water to a boil.  As soon as the water boils, turn the heat down to maintain a rolling boil (about medium-high) and cook for 15 minutes.  

As soon as the timer goes off, remove the pot from the heat. Quickly, but gently, remove the eggs using your slotted spoon and transfer them to your large bowl.  Fill the bowl with cold water and set aside to allow the eggs to cool.  It will be much easier to peel the eggs when they're no longer hot.


When you're ready remove the eggs and begin cracking their shells. If they're still warm, run them under cold water for a second first. Begin by tapping the egg against a hard surface, rotating so that you get multiple spots on the surface of the egg. Then, sandwich the egg between the surface and your palm and gently roll the egg around applying very light pressure to crack the entire surface of the shell.  Repeat for all the eggs.  One at a time, begin peeling the shell away from the egg.  I recommend doing this under running cold water. This helps with the shell removal. Set the eggs aside as you finish.


Using a sharp knife with a clean edge (not serrated! We're slicing not sawing here), slice each egg in half along the length of the egg.  Over your large bowl, separate the egg yolk from the egg white.  To do this, gently run your fingers around the part of the white surrounding the yolk, barely pulling it away from the center. The yolk should fall out easily.  Let the yolk fall into the large bowl, and place the white curved side down in a slot on your egg plate. Repeat this process for all the eggs.


Set your egg plates full of whites aside for now.  Measure out 4 tsp spicy brown mustard, 2/3 cup mayonnaise, 1 Tbsp onion powder, and 1/2 tsp hot sauce and add them to your egg yolks.  Now the rest of the ingredients are added to taste, so the following amounts are approximations.  Add about 6 shakes of Worcestershire sauce, 1 tsp of salt and lots of pepper. Whisk everything together with either a whisk or a fork. Try to get as smooth a texture as possible without any lumps of egg.  (That second photo is just plain appetizing, yes? Click to enlarge!).


Yes, I had an explosion.
Yes, it got everywhere. 
Now, a word of caution, if you're going to get fancy (and I tried, I really did), go ahead and run the mixture through a blender or food processor. You will not be able to get all the lumps of egg broken up by hand.  This is fine if you're simply going to spoon the stuff into your eggs and be done with it, but if you're going to pipe the mixture into your eggs you don't want any clumps to clog the tip and cause problems.  Why is that you ask? Because then you have to stop every five seconds to unclog or, well, see the photo.

Anyway, my kitchen adventures aside (I assure you much hilarity ensued, especially since I managed to splatter myself as well as the table cloth), I did manage to pipe out all of my eggs (like the kitchen ninja I truly am).  Insert your piping tip into the decorator's bag and spoon in the egg mixture. Seal the end of the bag and pipe the egg mixture into the hollows of the egg whites by lightly squeezing the large end of the decorator's bag. You'll want to heap it in so that you have little mounds; there'll be plenty of filling, trust me.  Once you're done piping, sprinkle paprika onto each of the deviled eggs. Try to concentrate the paprika over the filling if possible.  


Om nom nom!
If not serving right away, chill in the refrigerator until you're ready to serve. Make sure to proudly display your deviled eggs in a proper egg plate. And most of all, enjoy!