Showing posts with label dinner. Show all posts

Sunday, September 2, 2012

Homemade Hash Browns

I haven't done a side dish post in quite some time. This recipe is pretty basic and serves about four people. The Hash Browny result can be served either as a breakfast item or as a dinner side. I love them either way, but most recently I served them up alongside my Chicken Berlin. Nom.

What You'll Need
Supplies
Cutting board                                                             Large pan
Knife for dicing                                                         Spatula
Ingredients
2 large baking potatoes                                              Salt
2 tbsp butter                                                               Pepper

    Now Let's Make Homemade Hash Browns
Start by thoroughly scrubbing the outside of your potatoes.  You want to get as much dirt and yuck off as possible. I leave my peels on for the recipe, but if it really bugs you feel free to peel your potatoes. However, for Hash Brown purposes, peeling is mostly a waste of time.

Take one of your potatoes, and slice in half lengthways. Then slice that in half across the width.  Slice your potato along the length with about 1/2 inch between your cuts. Keep your slices together. Then turn the potato and cut across the width. Break those pieces up and cut them until you have a medium dice. Repeat until all your potatoes are diced.


Heat the large pan over medium heat. When the pan reaches temperature, add 2 Tbsp butter and allow it to melt. Twist and tip your pan to allow the butter to thoroughly coat the bottom.


Now, add your potatoes. You want to add salt and pepper to taste. I don't typically add more than 3/4 to 1 tsp of salt. I'm very liberal with the pepper, though.  Saute the potatoes, moving them around regularly with the spatula to ensure even cooking.


Keep cooking the potatoes until they are brown, tender and slightly translucent looking.  Test a few larger pieces to ensure that none of the potatoes are still crunchy. Plate and serve! You now have a tasty, easy side dish to accompany your meal.


Sunday, May 27, 2012

A Memorial Day Feast

So, some you might have noticed I was absent for my usual book review post on Thursday.  That's because my kid brother graduated from High School.  Woot! Regularly scheduled programming will now resume.

I thought I'd do something that would fit in with tomorrow's holiday, so I came up with this recipe for Memorial Day Sliders.  I've made hamburgers aplenty, but I'd never done sliders (a term my mom insists sounds kinda gross; no comments from the peanut gallery).  I was using King's Hawaiian rolls, so I wanted something with a hint of sweet tang to go with them.  This is what I came up with, and they were delicious.  This recipe makes 8 sliders, and can easily be multiplied to serve a larger number.

What You'll Need
Supplies
Large mixing bowl                                                            Knife for slicing
Large skillet                                                                      Paper towels
Spatula                                                                              2 plates
Cutting Board
Ingredients
1 lb lean hamburger meat                                                 1/4 cup plain breadcrumbs*
1 large egg, cold                                                                Olive oil
2 Tbsp Hoisin sauce                                                         King's Hawaiian rolls
5 shakes Worcestershire sauce                                        Toppings of choice

Now Let's Make Memorial Day Sliders!
Click for a tasty slideshow!
Place your hamburger meat in the large mixing bowl.  Crack 1 large egg and add it to the bowl, avoiding any shell (I find that this helps the meat stick together better if the egg is still cold rather than room temperature).  Measure and add 2 Tbsp of Hoisin sauce.  If you don't have/ can't find Hoisin sauce you can also use a sweet Teriyaki sauce like La Choy; the key is to use something tangy with a slight sweetness to it. Then add five shakes of Worcestershire sauce.

Measure out 1/4 cup of bread crumbs and set to the side. Now comes the gross the part (also prepare yourself for some painfully cold hands).  Get your hands in there and start squishing everything together until it's thoroughly mixed. There's just no other way to do this; a spoon doesn't cut it (though I suppose you could use gloves if it really bothered you). Once everything is mixed together, add the 1/4 cup bread crumbs and immediately place that measuring cup in the sink (since you just got your meaty hands all over it).  Mix the bread crumbs in by hand, also.

Divide the meat into about 8 even sized piles (I was going to say chunks, but that sounds a little gross, yes?).  Take one pile and squeeze it together to make sure that it will stick. Using both hands, roll the meat into a ball, then flatten it between your palms.  The slider should be a size that fits within the palm of your hand and should look a little bigger than you actually want it to be, since it will shrink while cooking. Place the patty on one of your two plates and repeat this step for the rest of the meat.

Wash your hands (you made need someone to turn on water and squirt you with soap to avoid getting meat everywhere. Safety first!). Pour enough olive oil into your pan to easily cover the base of the skillet.  If you have a grill, you can skip this and the next step and grill that tasty, tasty meat, but you're on your own (having never yet owned one, grilling is not my forte).  Heat the oil at medium heat, about 5 or 6. 

Once the oil is hot enough, add all eight of your sliders to the pan. If your pan's not big enough to do all eight, I recommend cooking them in batches of four.  Spread them around the pan evenly to start with, since you don't want the sides of the burgers to try and stick together. However, once the burgers have started to cook and sizzle for a bit, you'll want to move them all as close to the center of the pan as possible to allow them to cook evenly.

While your burgers are cooking, start prepping your topping choices.  Me? I like onions, tomatoes, lettuce, and cheese.  Sadly, the tomatoes at the supermarket looked downright mealy, so I had to pass on them this go round. Le sigh.  Keep the size of your sliders in mind for your toppings, I chose a smaller sized onion and sliced it very thinly to achieve a perfect fit for my sliders, and the same thing goes for any other topping.  At a loss? Here are some suggestions: onions, tomatoes, lettuce, cheese, mushrooms, bacon, pickles, red onion, avocado, basil leaves, toasted garlic, red peppers, jalapenos, relish, salsa, etc. And don't forget our old friends: ketchup, mayo, and mustard!

At some point when you're prepping all your delicious toppings, the burgers should be ready to flip.  The side that was facing down should be dark brown all over with some darker, more cooked spots.  Flip all the burgers and allow the other side to reach the same level of doneness. Naturally, you'll want to watch your burgers to achieve the level of doneness that you prefer. I like mine medium well, so that's what you should get if you follow my instructions precisely. If you like yours a little more or a little less done, you'll have to play with cooking time to adjust.

Take your other plate (the clean one that you did not have raw meat on), and place two layers of paper towels on it. Remove the burgers when they are done and place them in one layer on the plate.  Take some more paper towels, and pat the burgers to remove the excess grease.  I don't really like any extra grease, but I suppose you could skip this step. However, I find that due to the size of sliders, they can't handle the extra grease as easily a larger burger.

Serve the sliders on King's Hawaiian rolls with the toppings and sides of your choice. Chow down, enjoy, and send kind thoughts to those who can't be home having fun grill-fests this Memorial Day. (Miss you Michelle!)


I've been cat-sitting for a friend who's in Air Force Basic Training. Everybody, meet Sebastian's new friend Kat:

Forget polite questions.
GIVE me your cheeseburger, hooman!


Sunday, May 13, 2012

A Pork Choppy Mother's Day

So, it's Mother's Day (hope you didn't forget!). Why not make your mother something nice for Mother's Day this evening?  Sure, going out to a fancy restaurant for a meal is nice, but why not avoid the crowds and impress your mom with a more personal dinner.  Really, any recipe would do, but these Honey-Garlic Pork Chops are particularly tasty and sure to please. (Unless of course, you're the burn the house down type, in which case Mom might prefer that dinner out.  Just saying).

What You'll Need
Supplies
Plate                                                                                 Measuring spoons
Fork                                                                                  Large cast iron skillet
Small bowl                                                                        Spatula
Measuring cups (liquid and dry)
Ingredients
1 cup of plain bread crumbs                                         2 Tbsp mustard
2 Tbsp flour                                                                      2 tsp minced garlic
Salt and pepper                                                                 2 big forkfuls honey
1 tsp thyme                                                                       4-6 center cut pork chops
1 egg                                                                                 1 cup olive oil

Now Let's Make Honey-Garlic Pork Chops!
Measure 1 cup of plain bread crumbs, and pour them onto your plate.  Add 2 Tbsp of flour, a sprinkle of salt, pepper to taste, and 1 tsp thyme.  Use your fork to mix the ingredients together until they are thoroughly blended.  The fork helps avoid spills, but don't be too vigorous, or you'll slop crumbs off your plate.  You likely won't be using the full amount, but depending on how much you coat your chops, it's better to be safe.  Set aside.

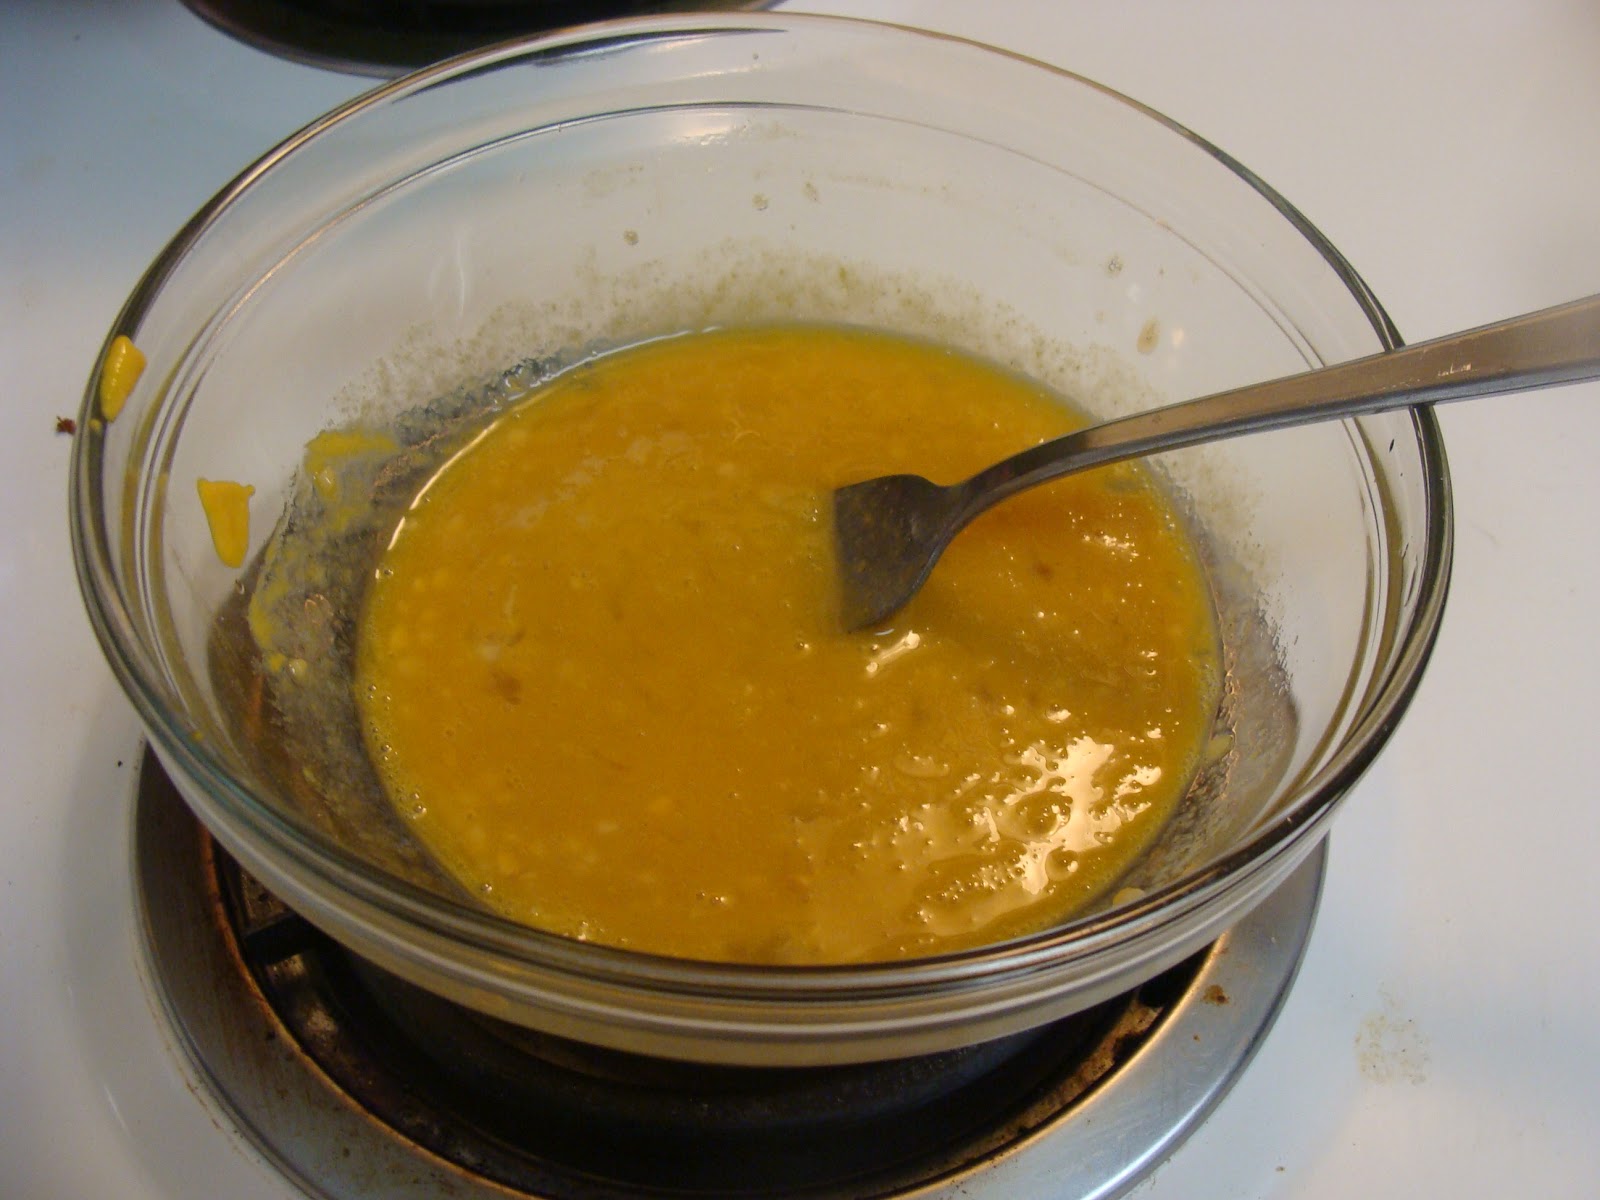
In your small bowl, crack a large egg. If you get shell in the bowl, lightly wet your fingers to easily pull the shell out (that way you don't have to chase the shell around the bowl). Now, measure and add 2 Tbsp mustard and 2 tsp minced garlic.  Take your fork and wipe off any clinging bread crumbs.  Use this to spoon (oh the irony) out some honey.  You want as large a forkful as you can manage per scoop. Allow the first scoop to pour off the fork into the bowl; on the second scoop simply stick your fork in the bowl. Use the fork to whisk together all the ingredients until everything is thoroughly blended (especially the egg).  The garlic may sink to the bottom, but the rest of the ingredients should not be individually identifiable.


Measure and pour 1 cup of olive oil into your large skillet.  Set the skillet on the stove and turn the eye to medium high heat.  While your oil is heating, move on to the next step.

It's time to dredge those pork chops! This is messy and your hands will get a little gross, so prepare yourself.  Take a pork chop and dip it into the bowl of garlic/honey/egg.  Move it around the bowl until all of the pork chop is well coated in the mixture.  Hold it over the bowl to let it drip for a second, then quickly lay the chop on the plate of breading.

Press the pork chop down into the breading repeatedly, moving your fingers all over the pork chop to coat one side. Flip the chop and repeat.  Make sure to coat the entire pork chop. If there are any bare spots, use your fingers to press breading onto them. Set the pork chop aside and repeat for the remaining chops.


By now your oil should be ready. If you're not sure, wet your fingers and flick a small amount of water into the oil. If this causes the oil to pop, it's good to go.  Gently place your pork chops into the pan.  Depending on the size of the chops and the pan that you're using, you may be able to fit more than the two pictured here. If you have to, you can place the cooked pork chops on a plate in the oven at warm until the rest are ready.

Cook on one side until the pork chops begin to turn a very dark golden brown.  You'll know that they're getting close, when you start to see signs of crisping around the edges and sides of the pork chop.  When ready, gently flip the pork chop using a spatula.  Cook on the other side until matching in color.  Make sure to cut into the pork chops to check that they're done; you don't want to serve Mom pink or bloody meat (there is no medium rare in pork; go for well done).  When done, remove from pan and repeat these cooking steps for the other pork chops.

Serve with a plateful of mashed potatoes and green beans and a side salad for a complete meal. And don't forget the present (it is Mother's Day after all).


Sunday, April 29, 2012

Tastes Like Chicken!

Because it is.  (Bwahahahahaaa! I'm hi-larious) Tonight's recipe features something super easy and fast.  Why? Because a) I'm still sick (*hack, cough, hack*) and b) I just got off work.  You have those sort of days, too, right? RIGHT?! Ah, I thought so. Without further ado, I give you Work-Night Chicken Quesadillas.

What You'll Need
Supplies
Cutting board                                                                 Large skillet
2 forks                                                                           Cast iron griddle
Knife
Ingredients
1 rotisserie chicken                                                        1 tsp minced garlic
Tortillas                                                                          Chili powder
Shredded cheese                                                             Cilantro
1 Tbsp olive oil

Now Let's Make Work-Night Chicken Quesadillas!
Put your rotisserie chicken on your cutting board. Slice slightly to one side of the center of the chicken to begin removing the breast.  Don't worry if you're not a master carver; it doesn't need to be pretty.  Take your chicken breast, and remove any of the skin still attached (no one wants to get a big hunk of rubbery skin in their quesadilla. Trust me, learn from me). Now, use one of your forks to hold the piece of chicken down.  Take your other fork and firmly drag it across the piece of chicken to begin shredding the chicken. Continue until the entire breast is shredded.  Repeat for the other chicken breast and any other meat you can/want to pull off the chicken.

 Remember, click to enlarge for a closer view!

Set your cast iron griddle on an eye and heat it to medium heat (about four or five). Now ignore it and move over to your skillet.

In your skillet, heat about 1 Tbsp olive oil over medium heat. Add your newly shredded chicken and 1 tsp of minced garlic.  Add chili powder to taste. Personally, I like a lot.  If you have time and are so inclined, you could also add half a diced bell pepper. Saute the meat until it is heated throughout and flavors have mingled.  Reduce heat to low.

Come back to your griddle.  By now, it should have reached an even heat.  Place a tortilla on the griddle.  Sprinkle with shredded cheese as desired and add a few cilantro leaves as well. Watch as the cheese slowly melts. Once all the cheese is melted, add chicken to the center of the tortilla. Make sure to divvy up the chicken based on however many quesadillas you're prepping.


Okay, so I used a spatula.
Using one of your forks, fold one side of the tortilla over the chicken in the center. Then, fold the other side over. Remove to plate. Add another tortilla and repeat until all your chicken is used up. Serve with a salsa and sour cream. Some other ingredients you can add right before wrapping the tortilla up? Freshly diced tomatoes, sliced red onion, chopped lettuce, olives, etc.  Enjoy!


Sunday, April 22, 2012

Green Foods Need Love, Too

So, it's Earth Day.  In celebration, I thought I'd do a recipe that I've been talking about for a while but haven't gotten around to yet: Mint Chutney also known as Green Chutney.  This is a popular condiment in Indian cooking, and I, personally, could eat it on just about everything. It's especially good with Naan and a nice curry.  Don't let its green and runny appearance fool you (apparently some people find that off-putting), this little sauce is delicious, subtle, and can pack a sneaky punch.  I make no pretensions to authenticity. This recipe is the result of my experiments with a very basic recipe, tweaking until I got the flavors where I wanted them.

What You'll Need
Supplies
Cutting board                                                     Food processor or blender
Knife for chopping                                             Spoon
Measuring spoons                                              Small serving bowl
Ingredients
3 small green chilies                                          1 bunch cilantro
1 tomato                                                             1 bunch mint
3 Tbsp water                                                     1 7oz package grated sweetened coconut
3 Tbsp lemon juice                                             3 spoonfuls plain yogurt
3/4 tsp salt

Now Let's Make Mint Chutney!
Before we get started, let's have a few words (okay more than a few) about ingredients. For the chilies, I like to use the small green ones that you can find in bags at a good Asian grocer (these are about a finger length). If you can't find those, go with serrano peppers (pictured, since I couldn't find the others this go round). For the tomato, try to get a juicy variety; one of the big round ones should do.  

Take your three chilies, and begin chopping them. Slit the chili length wise, starting just shy of the top (stem side) and going all the way through the tip. Turn the chili to the unsliced side and repeat.  Essentially you've quartered your pepper, but left the quarters attached to the pepper by not cutting through the top.  Now, starting at the tip and moving toward the top, begin chopping your pepper. Repeat for the other two peppers. Set to the side, and coarsely chop your tomato. Add the peppers, tomato, 3 Tbsp water, 3 Tbsp lemon juice and 3/4 tsp salt to the blender or food processor (I got a food processor for my b'day, y'all and it's heaven). Blend until nice and liquidy.


Take your bunch of cilantro and rinse it really good (as I've said before, cilantro from the grocery is filthy). Gather the leaves in as tight a bunch as possible and chop the cilantro beginning at the leafy end and moving toward the end that's all stems.  Don't worry about any of the stem getting in the mix during the process; it's all the same flavor and you won't notice once liquified. Discard the stemmy chunk you're left with. Add the chopped cilantro to the blender. 

Now, for your bunch of mint (also rinsed) you can either use two containers of mint found with the other refrigerated herbs (usually near the salads), or you can take it fresh from the garden. Either way, you want enough leaves (leaves only here! Mint stems are woody) to fill your two hands cupped together. Pluck the leaves from the main stem and, when you're sure you have enough, add them to the blender.

Next, take your bag of sweetened coconut, and add about half the bag to the blender. I know sweetened coconut sounds weird and most recipes call for plain, but I find that the sugar is necessary to the overall flavor of the chutney. It adds a balance to things that wouldn't be there otherwise.  Anyway, by now you should have cilantro, mint, and coconut in your food processor waiting to go. Blend! If you're using a blender (as I sadly was still), you may have to stop occasionally and use your spoon to press things down a bit. Blend until liquidy. 

She forgot to take a photo
Content yourselves with me,
hoomans
Add about three big spoons of plain yogurt (I was using a tablespoon; you know the bigger one that's great for soups and cereals) to the blender and blend.  Once the yogurt is throughly mixed in, its time for a taste test.  Take a taste and wait a few seconds for the spicy to catch up to you. Too powerful? Add a big pinch of coconut (that's a pinch using all your fingers, by the way) and a smaller spoon of yogurt. Blend. Repeat until level of spiciness and flavor suits your taste.

Serve in a small serving bowl. Provide everyone with smaller condiment bowls so that they can dish themselves their own private stash of mint chutney.  This chutney can accompany just about any Indian dish you decide to make. Happy Earth Day and remember green food needs love, too, so enjoy!

I'm so much tastier than I look.


Sunday, April 15, 2012

Wholesome and Hearty

For today's culinary offering, I have Vegetable Beef Soup.  This recipe comes from my Aunt Caitilin and her family out in California, so you have them to thank (or curse when you scald you mouth on hot soup cause it smells too tasty to wait).  The great thing about this recipe is that it's pretty easy, and you can throw in the vegetables that you have on hand (fresh or frozen, no need to be picky). The prep work takes a little time, but once the soup is going, you can pretty much ignore it.

What You'll Need
Supplies
Knife for chopping                                                        Measuring cup
Cutting board                                                                Measuring spoons
Potato peeler                                                                 Soup pot or Cast iron dutch oven
Ingredients
1 Tbsp olive oil                                                             1 cup water
1 1/2 pounds stew meat                                              1 (14 1/2 oz) can diced tomatoes
1 yellow onion                                                              1 tsp chili powder
2 tsps minced garlic                                                     1 tsp soy sauce
2 stalks celery                                                              1 tsp Worcestershire sauce
2-3 carrots                                                                   1/2 tsp thyme
1/2 red bell pepper                                                       2 bay leaves
2 russet potatoes                                                          1 1/4 tsp salt
1 cup frozen cut green beans                                       Black pepper to taste
3 cups beef stock                                                          1 cup frozen corn
3 cups tomato juice                                                      1 cup frozen peas

Now Let's Make Vegetable Beef Soup
Meat and onions!
Let's start with some of that prep work I mentioned.  Begin by dicing your onions. Start by removing the non-root end. Slice through the onion in vertical lines, stopping just short of the root and working your way around the onion. Turn the onion so that the root faces parallel and away from your knife and begin chopping for a quick dice. Once diced, put 1 Tbsp olive oil in your soup pot and warm over medium heat. Add the onions and the stew meat and let them begin to saute. Stir occasionally, but move on to the rest of your prep work.

Take your two stalks of celery (give 'em a good wash, grocery store celery is filthy) and begin chopping.  Once chopped, gather the celery into a pile and dice by rocking your knife across the pile.  Repeat these steps until you've achieved a fine mince (I hate celery, so it has to be very tiny for me).  Next, cut your red bell pepper in half and remove the stem and the white, seeded flesh inside.  Set one half aside for another day. Hold your half pepper down with one hand and slice vertically along the pepper in thin lines. Gather these together, turn and chop across them until the entire half pepper is diced. Add the celery and red pepper to your sauteing meat and onions. Don't forget to stir occasionally!


Do NOT peel yourself, trust me.
Next, take your potatoes and carrots and peel them (best do this over a sink or trash bag).  Hold the vegetable in one hand and apply the peeler in swift strokes moving away from your body.  Rinse the vegetables once peeled in order to remove any dirt that got on the flesh during the peeling process. Beginning at the tip, slice the carrot into thin rounds. Discard the carrot top.  If you're working with large carrots, you'll only need two and you may need to halve the larger rounds that were cut closer to the top of the carrot. If you're working with smaller carrots, you may need three.  Next, coarsely chop the potatoes into chunks.  The easiest way to do this is to quarter the potato, and then chop those pieces up.


Add the potatoes and carrots to the soup pot, along with 2 tsps of minced garlic.  Now, measure out and add 3 cups of beef stock, 3 cups of tomato juice, and 1 cup of water. Stir everything together well.


Open the can of tomatoes, and add them to the pot, juice and all (do NOT drain).  Add 1 cup of frozen cut green beans.  Next, measure out and add 1 tsp chili powder, 1 tsp soy sauce, 1 running over tsp Worcestershire sauce, 1/2 tsp dried thyme, 2 bay leaves, 1 1/4 tsp of salt, and as much ground pepper as you'd like to the soup.  Stir well.  Reduce the heat to medium low, cover, and let simmer for about an hour (or more, it'll only add flavor), stirring occasionally.  

I swear there's corn in there somewhere
About 15 minutes before you're ready to serve (or after an hour), measure out and add 1 cup of frozen whole corn kernels and 1 cup of frozen peas.  At this point, your meat should be nice and tender. If it's not, you might want to hold off on this step for a bit. Also, feel free to use fresh veggies if you have them on hand; since it's not quite summer yet, I didn't.  Stir well, and allow to cook uncovered for an additional 15 minutes.

Remove the bay leaves if you're picky and serve along with a delicious slice of Irish Soda Bread.  The perfect pairing.  Enjoy with friends and family (see I do feed my Lovely Assistant Jen)!